

Ultimate Red Velvet Cake
- Delightful Bites
- Apr 19, 2024
- 4 min read


Dive into the enchanting world of red velvet cakes, where each slice promises a symphony of flavors and textures. Delight in the luxuriously soft and moist crumb, as it melts in your mouth with every bite. Experience the subtle harmony of cocoa undertones paired flawlessly with the creamy richness of our signature cream cheese frosting. From its velvety texture to its irresistibly smooth finish, this cake is a true testament to culinary excellence. Whether you're savoring a slice for yourself or sharing with loved ones, our comprehensive guide will empower you to create a masterpiece that's as unforgettable as it is delicious. Get ready to elevate your baking game and indulge in the ultimate red velvet cake experience.
Instructions:
Preheat Oven: Preheat your oven to 320°F (160°C). Grease and flour two 8-inch round cake pans or line them with parchment paper.
Combine Dry Ingredients: In a medium-sized bowl, whisk together the corn starch, baking soda, baking powder, and salt. Set aside.
Cream Butter and Sugar: In a large mixing bowl, cream together the softened butter and granulated sugar until light and fluffy.
Add Wet Ingredients: Beat in the vegetable oil, eggs, chocolate spread, vanilla extract, and red food coloring until well combined.
Alternate Dry Ingredients and Buttermilk: Gradually add the dry ingredients to the wet ingredients, alternating with the buttermilk, beginning and ending with the dry ingredients. Mix until just combined.
Divide Batter: Divide the batter evenly between the prepared cake pans.
Bake: Place the cake pans in the preheated oven and bake for 25-30 minutes, or until a toothpick inserted into the center comes out clean.
Cool: Allow the cakes to cool in the pans for about 10 minutes, then carefully transfer them to a wire rack to cool completely.
Frost: Once the cakes have cooled completely, spread a layer of your preferred frosting (cream cheese frosting is classic with red velvet) over the top of one cake layer. Place the second cake layer on top and frost the top and sides of the cake with the remaining frosting.
Serve: Slice and serve the cake. Enjoy your homemade red velvet cake!
Storage: Store any leftover cake in an airtight container in the refrigerator for up to 3-4 days. Make sure to bring it to room temperature before serving for the best taste and texture.
Step-by-Step Guide with images:
Preheat Oven: Preheat your oven to 320°F (160°C). Grease and line the bottom of two 8-inch round cake pans with parchment paper. Grease the sides and dust with flour, tapping out any excess.
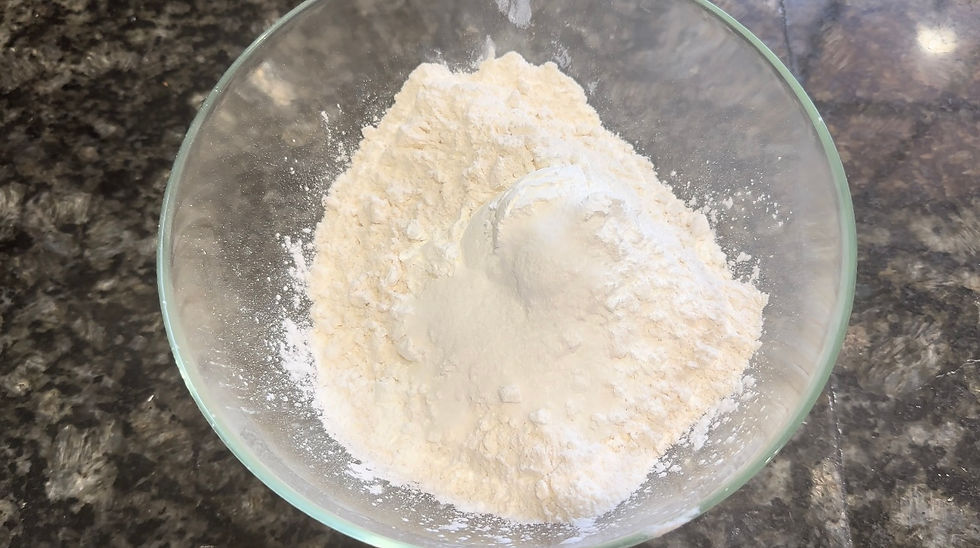
2. Combine Dry Ingredients: In a medium-sized bowl, whisk together 2 and 1/4 cups of all-purpose flour, 3 tablespoons of corn starch, 1/2 teaspoon of baking soda, 1 teaspoon of baking powder, and 1/2 teaspoon of salt. Set aside.
3. Cream Butter and Sugar: In a large mixing bowl, using an electric mixer, cream together 6 Tbsp of softened unsalted butter and 1 3/4 cups of granulated sugar until light and fluffy, about 3-4 minutes.

4. Add Wet Ingredients: Beat in 1/4 cup of vegetable oil, 3 large eggs (one at a time), 2 Tbsp of chocolate spread (such as Nutella), 1 tbsp of vanilla extract, and 1 Tsp of red food coloring until well combined and smooth.


5. Gradually add the dry ingredients: Gradually add the dry ingredients to the wet ingredients in three additions. Mix until just combined, being careful not to overmix.

6. Divide Batter: Divide the batter evenly between the prepared cake pans, spreading it out evenly with a spatula.

7. Bake: Place the cake pans in the preheated oven and bake for 30 minutes, or until a toothpick inserted into the center comes out clean. Rotate the pans halfway through baking for even cooking.
8. Cool: Allow the cakes to cool in the pans for about 10 minutes, then carefully run a knife around the edges of the pans to loosen the cakes. Invert the cakes onto a wire rack to cool completely.
9. Frost: Once the cakes have cooled completely, spread a layer of your preferred frosting (cream cheese frosting is classic with red velvet) over the top of one cake layer. Place the second cake layer on top and frost the top and sides of the cake with the remaining frosting. Another frosting that can be used is created by combining 1/2 cup butter with 2 cups of heavy cream and 1 cup of powdered sugar. This is the one I used this time to frost the cake but cream cheese frosting tastes the best with it or even ermine frosting.
10. Serve: Slice and serve the cake. Enjoy your homemade red velvet cake!
11. Storage: Store any leftover cake in an airtight container in the refrigerator for up to 3-4 days. Make sure to bring it to room temperature before serving for the best taste and texture.


Additional Information:
Bring all refrigerated ingredients to room temperature before starting.
Measure ingredients accurately using proper measuring tools. Weighing them on a scale is usually more accurate.
Use unsweetened cocoa powder for authentic red velvet flavor. Bloom the cocoa powder beforehand by adding 4 tbsp of warm milk with cocoa powder and mixing. I used Lint Chocolate spread since i didnt have cocoa powder. Melted chocolate can also be used. Mix it with heavy cream in a 1:1 ratio for ganache and then add into the batter.
If you don't have buttermilk, you can make a substitute by adding 1 tablespoon of lemon juice or vinegar to 1 cup of milk and letting it sit for 5 minutes.
If you prefer a deeper red color, you can add more food coloring, but be cautious as adding too much can affect the taste.
To ensure even baking, rotate the cake pans halfway through the baking time.
Insert a toothpick into the center of the cakes to check for doneness; it should come out clean or with a few moist crumbs attached.
Allow the cakes to cool completely before frosting to prevent the frosting from melting.
If you're short on time, you can bake the cakes ahead of time and freeze them (unfrosted) for up to a month. Thaw them overnight in the refrigerator before frosting.
To achieve smooth frosting, consider using a cake turntable and offset spatula.
Decorate the cake with additional toppings such as fresh berries, chocolate curls, or edible flowers for a decorative touch. I added some crumbled up cake ontop and a chocolate drip.
Store leftover cake slices in an airtight container in the refrigerator for up to 3-4 days. Allow them to come to room temperature before serving for the best taste and texture.

Find the video on how to make this delicious cake:


Comments